- Age: 5+
- Time: 20
- (Setup: 5 min, Activity: 10 min, Cleanup: 5 min)
- Materials: $5
In this mission, you'll look at bubbles in a whole new light -- because for some materials, their properties actually depend on the environment around them. So get ready to perfect your bubble blowing technique and discover some surprises!
Download PDF- what you need
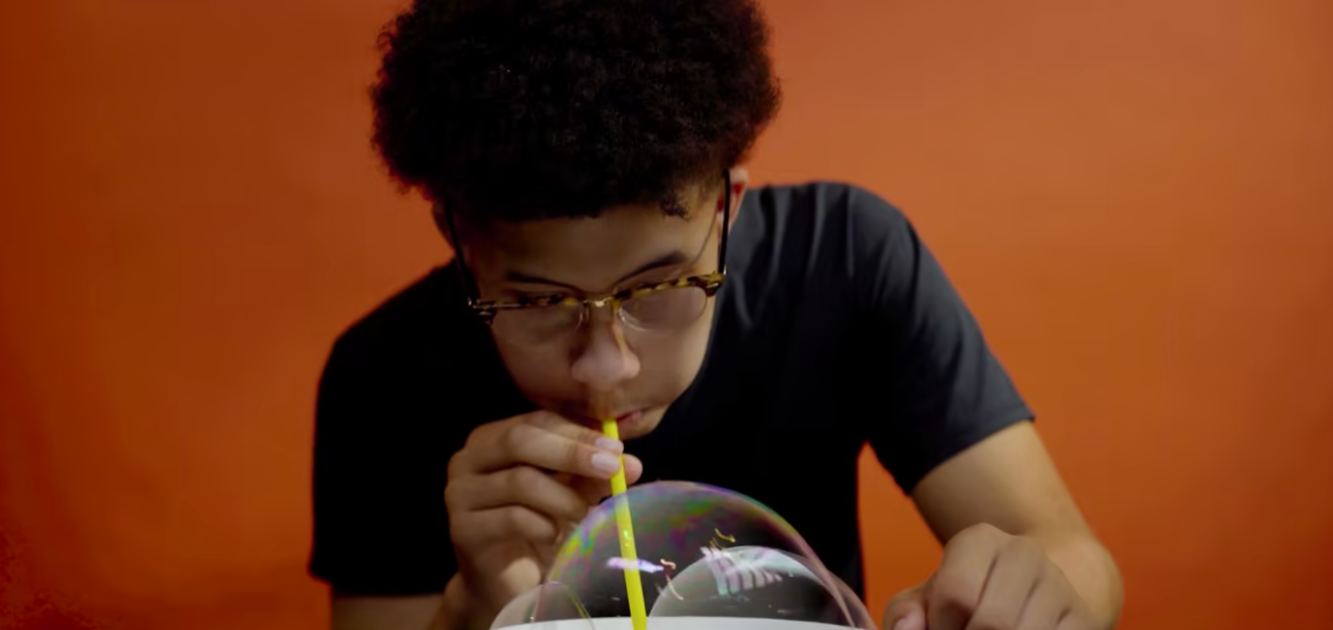
- What To Do
- What's Happening?
-
So What?
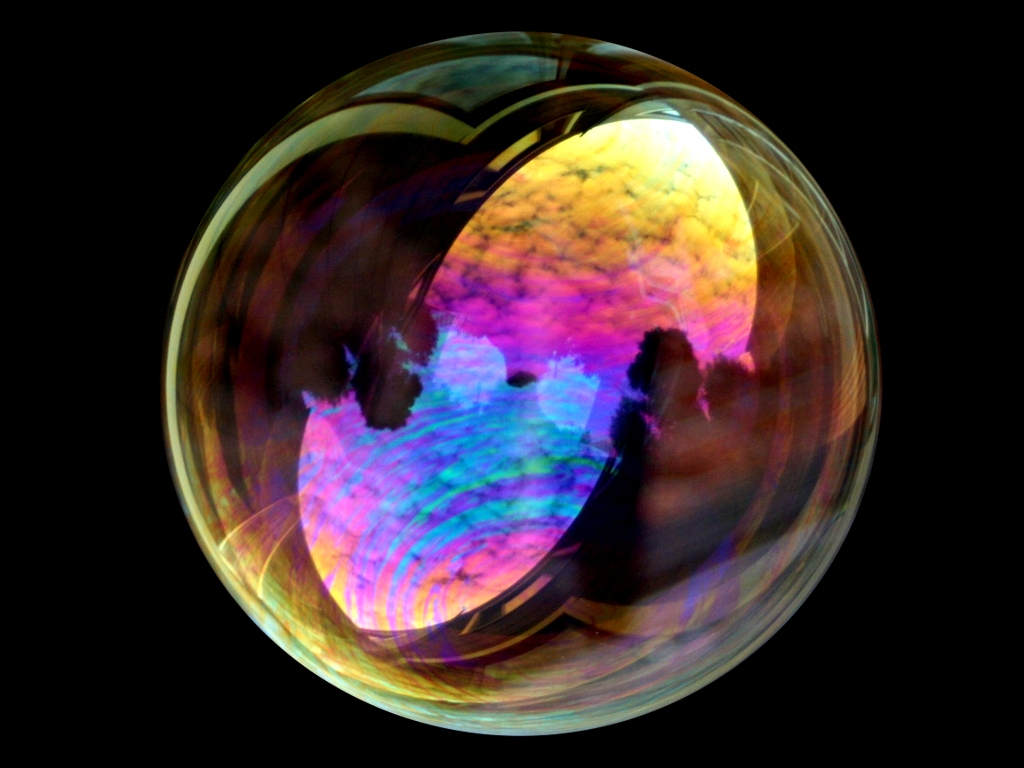
Image credit: Brocken Inaglory
So What?All around us, we can see examples of structural color -- for example, in DVDs, rainbows, and even on some bugs! Unlike colors from dyes, like those used to color fabric for our clothes, structural color is unique in that it will never fade away if the structure stays intact. Structural color is just one example of a property that depends on how a material interacts with the environment. The structural color of a material can change just by a different angle of light. Try looking at the back of a DVD and notice how you see different colors arise when you move your head up and down. Currently, structural color is used on currency to prevent people from illegally printing money as these structures can be difficult to make but are easy to see to determine if the money is fake.
- Scientists In Action
- For Teachers